xsigno
Planning your measurement
Support > Manual
Planning your measurement
The procedure of a measurement is best explained by an example. In the example we will explain which pictures are necessary to setup a measurement. The first example is the measurement of the extent of a toy car, maybe to choose a proper shipping box and to confirm the sizes given on the maker's homepage (see Bobby Car Racing No 1: 56 x 29 x 38 cm).
The first image is a close up view of the orientation board. As the markers cover the full view of the camera, the distortion characteristics of the camera can be measured best. It is recommended to include one close up view for calibration purposes. The following pictures show the object from all directions. Note that only points visible from at least two perspectives can be measured.
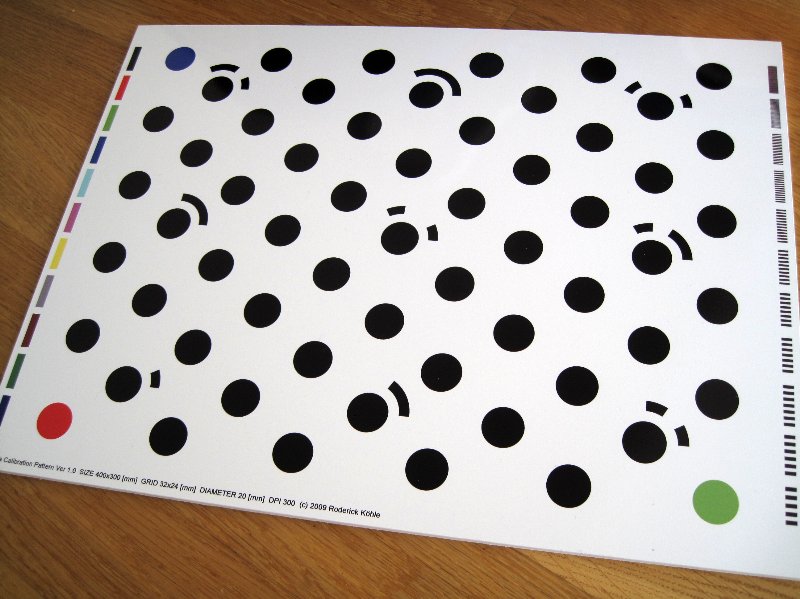
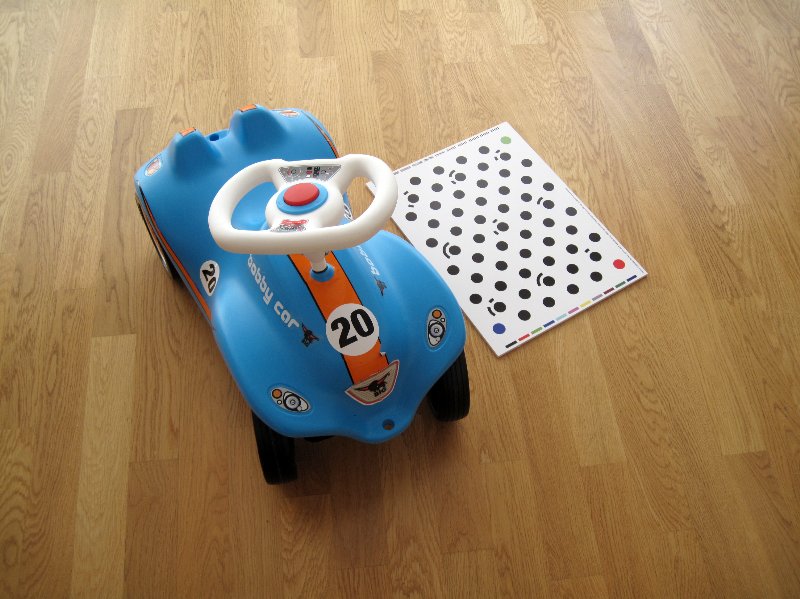
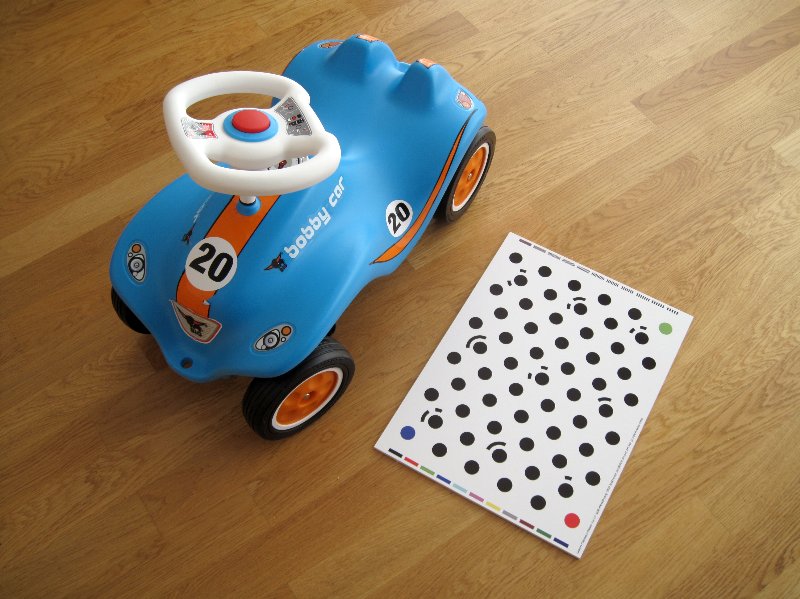
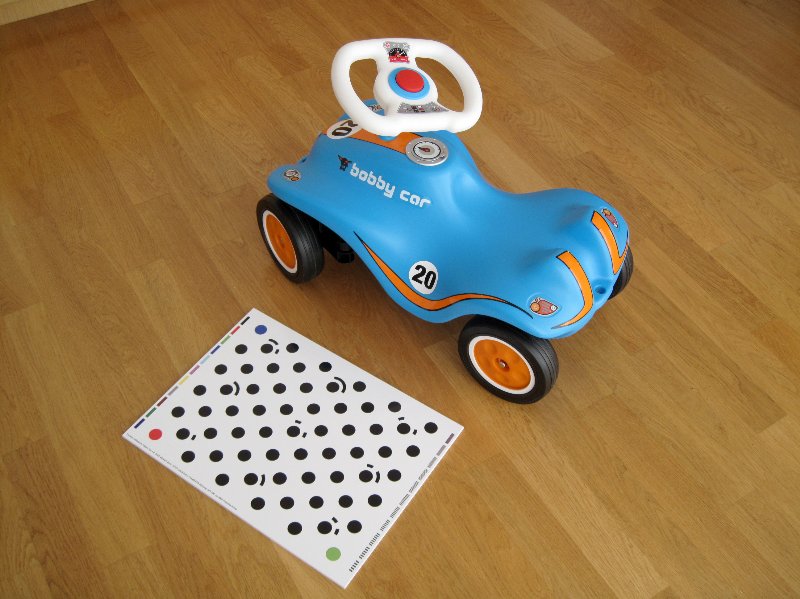
Reference board used for the characterization of image distortions and finding the position and orientation of the camera.
Another example is the measurement of a room corner. The plain corner has too few interesting point to link a marker to it. In order to be able to define the surfaces of walls it is helpful to place stickers with ring-markers to the wall. Using ring-markers is helpful in consistently labeling points from many perspectives. To determine the location of a planar wall, at least 3 markers are necessary.
Compared to the manual marking of features, ring-markers offer a higher accuracy. Image coordinates can be extracted with sub-pixel accuracy.
Regarding the image resolution most consumer grade cameras use a Bayes matrix type of CCD chip for image acquisition. The effective resolution setting is therefore half of the maximum resolution your camera offers. For example if your camera offers a maximum resolution 4000x3000 pixels, the recommended resolution is 2000x1500. To avoid compression artifacts, use a high-quality compression scheme your camera offers.
The measurement accuracy will not be limited by the camera resolution but rather from the mechanical stability and how well a camera can be characterized. For consumer cameras, the stability can show strong variations resulting in poor measurement results.
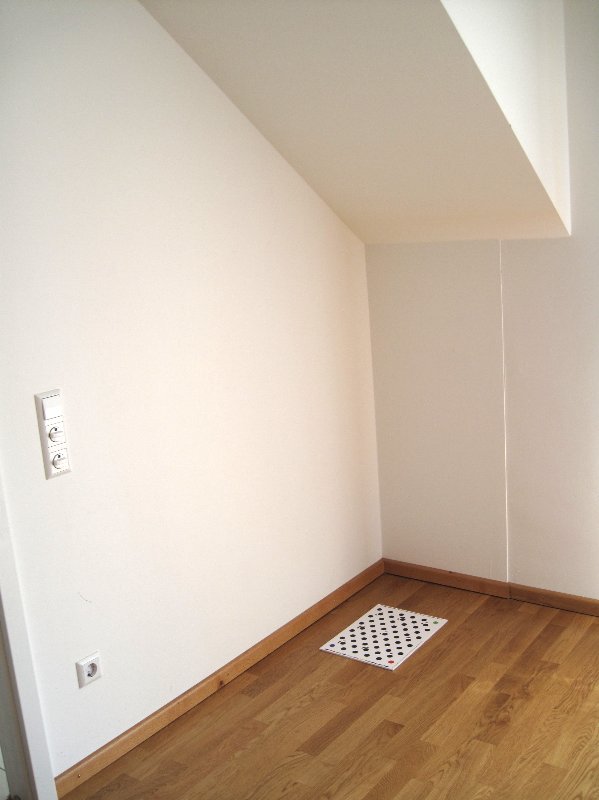
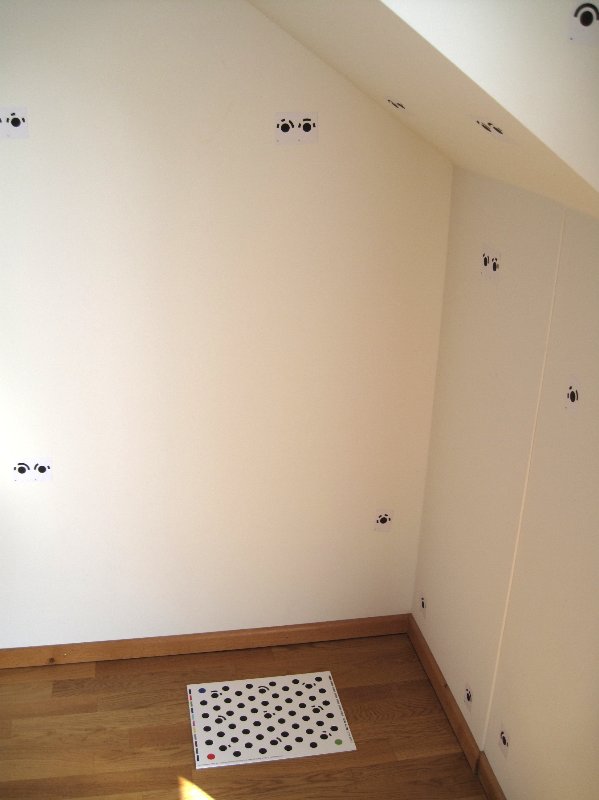
Placement of ring-markers to get accurate reference points.
Recommended camera settings:
Use the “effective” resolution setting (half of the maximum resolution).
Select a high quality JPEG compression ratio.
Use a tripod instead of anti-shake correction.
Place ring-markers to determine image coordinates.
Picture taking conditions:
Avoid steep angles to marker as it makes marker recognition difficult.
The view angle between two perspectives should be at least 30 to 60 degree.
Take more than two views to get some statistics and to have some independent test images to check accuracy.
Use as few zoom or camera settings as possible, do not switch back and forth between camera settings.
Sub-Menu: